Tokyo/Model
From 2007.igem.org
(Difference between revisions)
| Line 1: | Line 1: | ||
| - | ==[[Tokyo_Tech|Abstract]] [[Tokyo/Model|Concept & Model]] [[Tokyo/Requirements |Requirements]] [[Tokyo/Genetic circuit|Genetic_circuit]] [[Tokyo/Works|Works]] [[Tokyo/ | + | ==[[Tokyo_Tech|Abstract]] [[Tokyo/Model|Concept & Model]] [[Tokyo/Requirements |Requirements]] [[Tokyo/Genetic circuit|Genetic_circuit]] [[Tokyo/Works|Works]] [[Tokyo/About our team|About_our_team]]== |
''' To follow Pareto’s principle like an [[Tokyo/Concepts|ant society]], our model system must follow the three cases shown in Fig. 1 to 3. In our model, all nodes (individual cells) have the same genetic circuits but take two states, A (worker) and B (idler), depending on the surrounding circumstances.''' | ''' To follow Pareto’s principle like an [[Tokyo/Concepts|ant society]], our model system must follow the three cases shown in Fig. 1 to 3. In our model, all nodes (individual cells) have the same genetic circuits but take two states, A (worker) and B (idler), depending on the surrounding circumstances.''' | ||
Revision as of 08:09, 24 October 2007
Abstract Concept & Model Requirements Genetic_circuit Works About_our_team
To follow Pareto’s principle like an ant society, our model system must follow the three cases shown in Fig. 1 to 3. In our model, all nodes (individual cells) have the same genetic circuits but take two states, A (worker) and B (idler), depending on the surrounding circumstances.
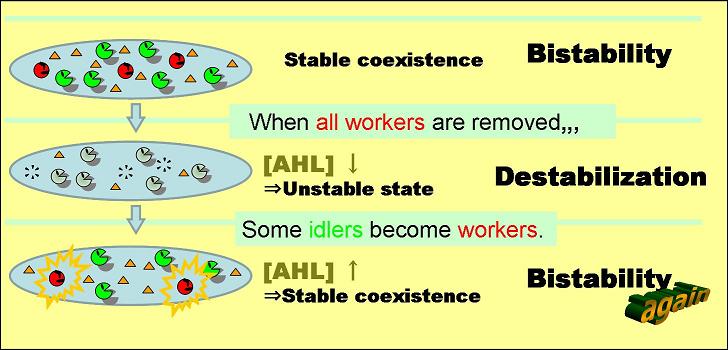
Condition 1. Bistable state

Fig. 1 The system is stable when it contains both node A and node B at certain ratio.
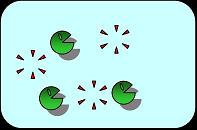
Condition 2. Unstable state with node A removed

Fig. 2 By removal of node A, the system containing only node B becomes unstable.
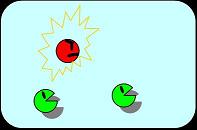
Condition 3. From unstable to stable state

Fig. 3 In the unstable state, some node B changes to node A while the others remain B. Then the system becomes stable again.
